Thursday, April 18, 2013

The Very Hungry Caterpillar

We read the book "The Very Hungry Caterpillar" this week and made caterpillars and butterflies to go along with the book.  I love Eric Carle books.....they are some of my favorites....the illustrations are amazing!
 
BookCatepiller_1210
 
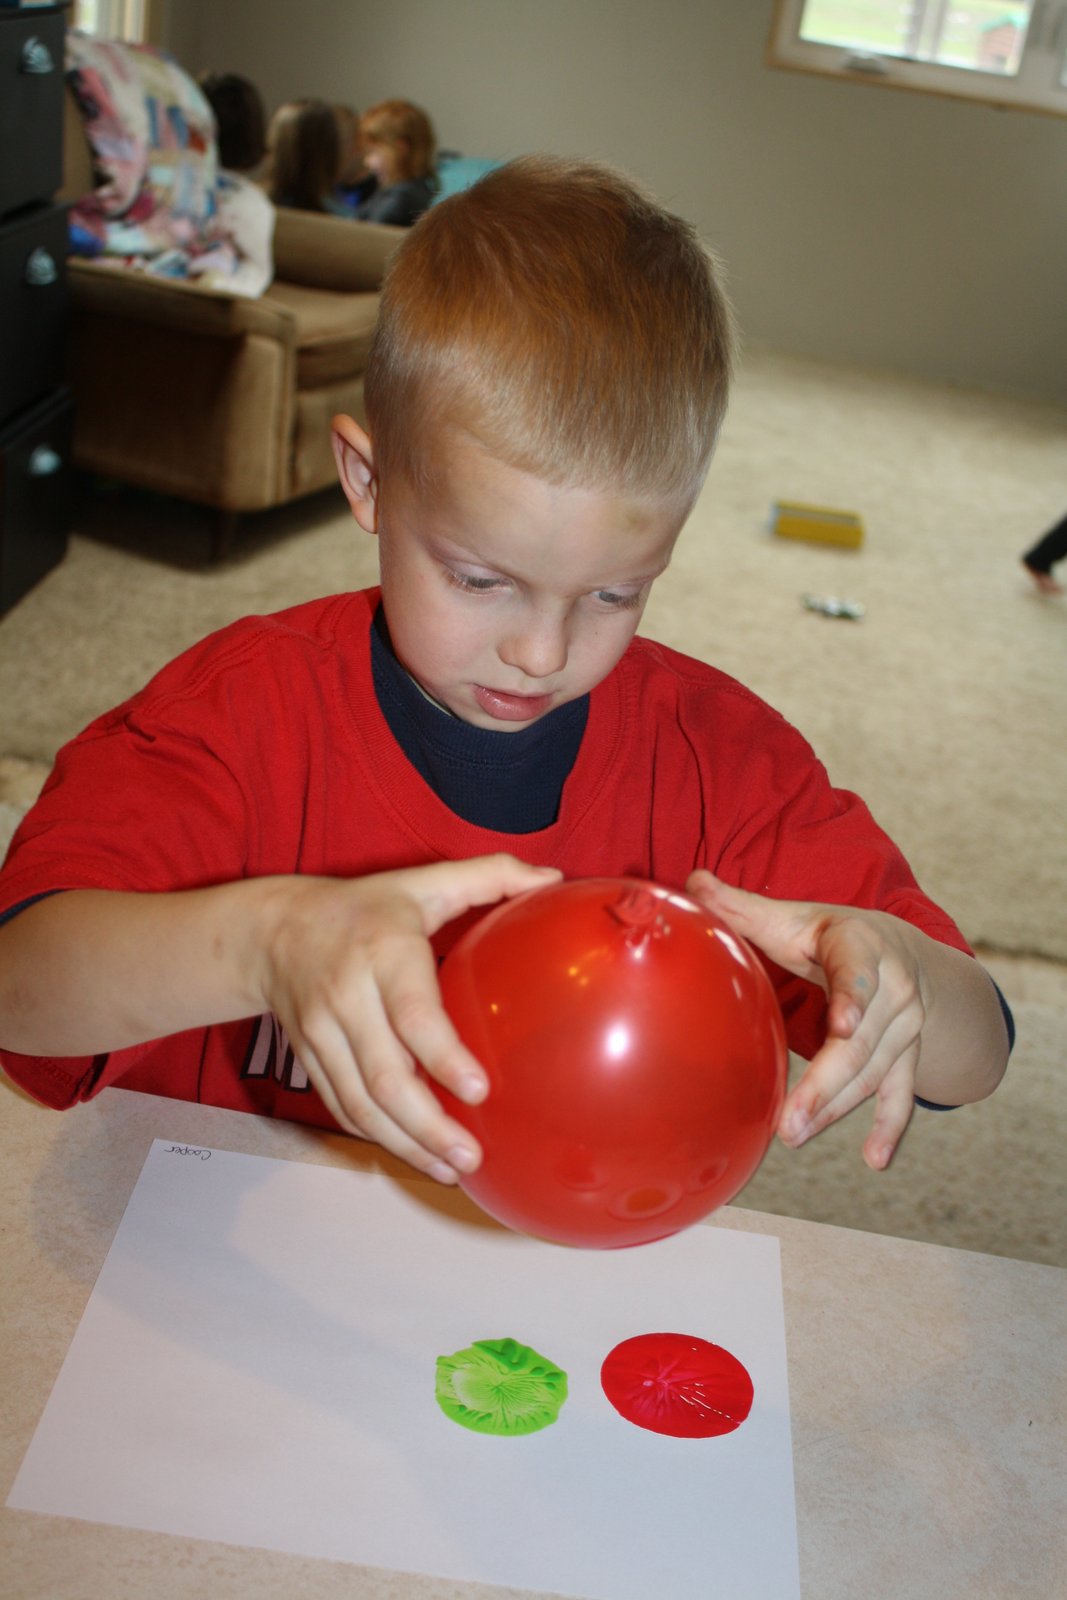
So we made caterpillars using two balloons.  Dip the first balloon in red paint for the face and the other balloon in green paint for the rest of the body.


Then use a marker to add the legs on the caterpillar.


 The children also used their finger dipped in purple paint for the antennas and added yellow and green eyes and a black nose.....the children were concerned about the mouth, but I guess you can't see the mouth in the picture, so no mouth I guess!!

 
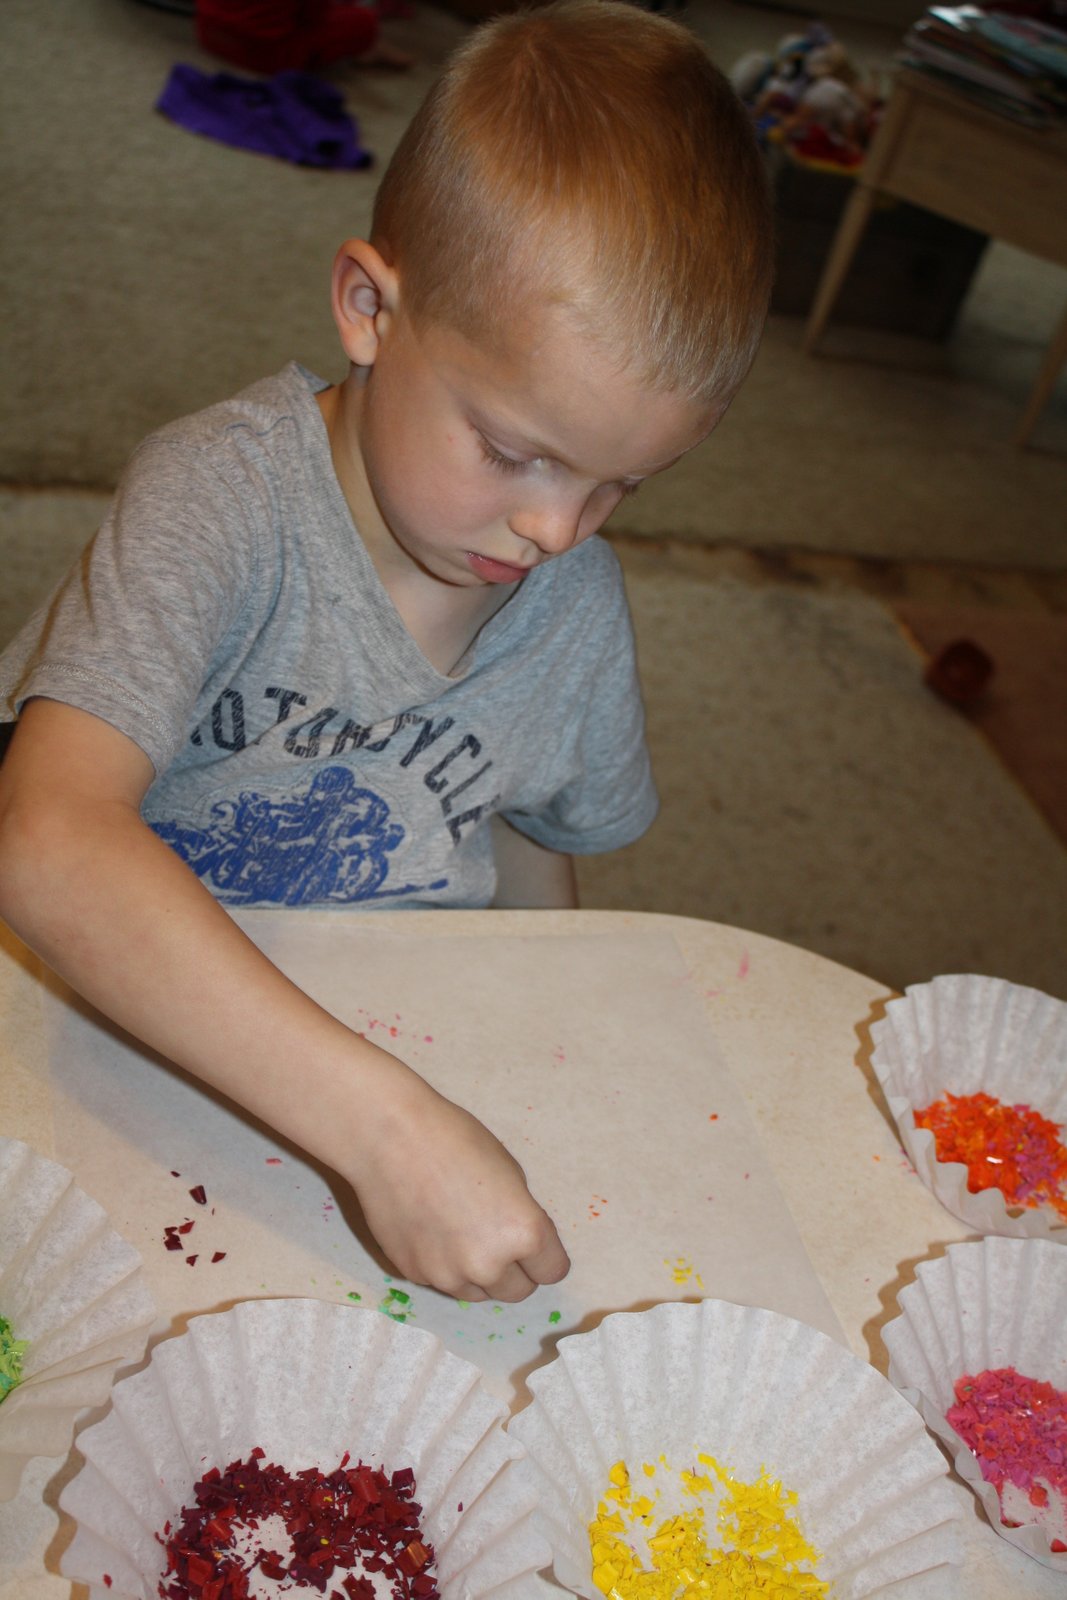
 To make our butterflies, we used wax paper and shaved crayons......the children were watching while I was shaving the crayons and they were asking if it was like shaving your beard or your legs?!?!!  I love the way their minds think.....too funny!

Then they just sprinkled the shavings on the wax paper.  When they were done, I layed another piece of wax paper on top and ironed it......make sure you put a towel or paper towels between the wax paper and iron or you will ruin your iron.....depending on the results you are wanting with depend on how you use the iron, you can move all round and smear the crayons or just set iron on top and lift it to get a more separated look.  You can also do the same type of technique with the warming trays we have done in the past.


Then I just cut into the shape of a butterfly and added pipe cleaner for antenna.  Super cute sun catcher to hang in the window.
 

Tuesday, April 16, 2013

Fingerprint Flower

Here is another 2 day project we started last week.  I had several ideas of doing individual fingerprint flowers, but then thought it would be fun to have a group flower that we could display all the time.  And I happened to have a canvas I bought awhile back for another project, so we used it for our flower.  I first drew a rough outline of a flower so the children would have a guide to where their fingerprints should be.  Then I let them pick what color of paint they wanted for their fingerprint.....everyone needed a different color. 

Green 

Orange 

Red 

Pink

Turquoise

Silver 

Yellow.....Cooper snapped this picture of me helping L do her fingerprint. 


Purple......Ru wasn't here the day we started, so she added her fingerprints today. 

Then I outlined it in black and they helped fill it in.  It will need another coat of black, but I think it turned out cute and the kids love it!  I also want to add on the backside, their fingerprint and have them write their name by their fingerprint......fun keepsake! 

Tuesday, April 9, 2013

Toilet Paper Roll Flowers

We started these flowers last week and finished them this morning.....this isn't a project you can finish right away unless you use markers to color the tubes.
 
First, take 2 toilet paper rolls for each child and cut them in half......we made 4 flowers, but you could do more or less depending on time and patience.

You could use markers or paint for the next step, either one would work.  We used paint and rolled the tube in the paint to get it nice and covered.  This part is pretty mess, so if you want you could just use a paint brush to paint the tubes.


To make the petals, cut around the outside of the tube about a 1/2 to an inch in.  Then fold the edges over......you can then paint the petals (we actually painted part of the inside of the tube when we first painted the tubes, so we didn't have to wait for them to dry twice.....does that make sense?).
 
Once everything is cut and dry, glue the flowers onto a piece of paper and add stems and leaves. We just used a green marker for this part.


I love how these turned out.......don't they just scream Spring??!!!!!

Wednesday, April 3, 2013

Popsicle Stick Flowers

Well, I know it doesn't feel like Spring, but it is and we are spending the entire month of April talking about Spring.  We will talking about flowers, gardening, birds, bugs, etc.  So, yesterday we started off by making some flowers.  I gave each child 5 popsicle sticks......4 for the petals and 1 for the stem.  I let them each choose what color they wanted their flowers to be and they got busy painting......most of the children wanted to make 2 flowers.


Once the popsicle sticks were dry, we assembled them with hot glue and added a jewel or button to the middle of the flower.  These turned out super cute and you could even set them in a cup of sand and set on the window sill or in a pot with real flowers......we used craft paint, so the paint won't come off if it gets wet.
 
I was just about to publish this post and I look up and see snow coming down outside......so ready for some Spring weather!  Wasn't it just in the 70's this weekend??!!!