Thursday, February 9, 2012

Marble Hearts

The activity we did this morning, combined art with science. 

You will need cooking oil, water, food coloring, and a white construction paper heart for this project.
Put oil in a jar and add food coloring (we did pink and purple in separate jars).  You will need to really whisk the food coloring into the oil to get it mixed up.

Then lay your heart in a pan (we used a 9x13....just make sure it's big enough for your heart) and add just enough water to cover the heart.

Then start dripping the colored oil with a medicine dropper on the heart and mix it all around.  If you want, you can also get your hands in their as well to move the oil and water around.


They thought it was neat how the oil and water didn't mix.....fun science experiment!  Each one of their hearts look completely different.....just depends how much oil you put on it and how much you mix it around. 
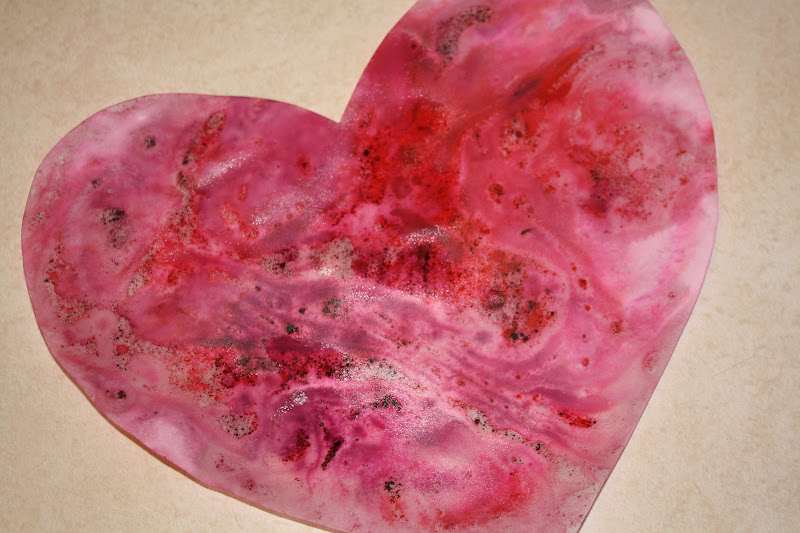


I think these turned out really cool.....I'm sure Reese and Cooper will be asking to make these after school.  They saw the hearts from Tuesday and made about 10 each that evening!

Tracy

Wednesday, February 8, 2012

Sweethearts

I love to find new ways or different ways to work on counting, sorting, and fine motor skills  then just the norm.  Kids seems to enjoy it more as well when you can incorporate food or something fun into learning.  Yesterday we used the Sweetheart candies.....you know, the ones in the little boxes with the different sayings.....endless possibilities with these candies.  And, they are only $1 for 4 boxes at Dollar General.  I bought the boxes so they each had their own and could eat some and take the rest home when we were done. 

Check out their mad sorting skills.....they did great sorting all the colors into their own pile!


After they finished sorting, we worked on counting and made a little graph.....then we looked to see who had the most of which color, who had the least of which color, etc.  They had so much fun with this, they didn't even realize they were learning.

Other activities you can do with candy hearts: pick up with tweezers or chop sticks and transfer from one bowl to another (great fine motor skill).....you can also make a race or a game out of that, find letters on the hearts, look for the letter of the week, find the letters in your name, you can use them to decorate a heart cut-out or valentine box or bag, oh and you can definitely eat them, which is what we did when we were done with the graph.....guess I will need to go buy some more.


Tracy

Tuesday, February 7, 2012

Tye Dye Hearts

This week and next week we will be talking about Valentine's Day, hearts, love, etc.
Today we made tye dye hearts with coffee filters.
Cut your coffee filters into hearts.....you will need more than one, trust me, cause the kids will not be able to just stop at one! 

Then you can just leave them flat or you can roll them up and add rubber bands to them for more of a tye dyed look.  We did both.

Decide on what color food coloring you want to use and then add it to water.  Then start dripping the watered down food coloring with medicine droppers onto the coffee filters.....so easy and it's so fun to see the different designs and colors.

E was so excited cause he made green with blue and yellow.

These are the hearts we just layed flat and dripped water color on.

And these are the ones that we tye dyed.
I think they all turned out cute!!!


Tracy

Friday, February 3, 2012

Kansas Dirt Cake

To finish off our week on Kansas, we celebrated by making some good ole Kansas Dirt Cake!
This is really easy and the kids LOVE it!!!
First, make some chocolate pudding.

Then, crush up some oreo cookies.  I usually just put in a baggy and let the kids pound away, but this time I used my manual food processor from Pampered Chef.....I love this thing and thought it would be fun for the kids to use as well.


Next, start layering into cups......put the chocolate pudding in first.....this is the mud.

Then add some gummy worms.....some of the kids like plain and some like the sour ones, so I let them choose.

And top with the cookie crumbs (dirt).....I had one child that didn't want the "dirt" on top.

Oh, and before we ate our yummy "cake" we had to sing Happy Birthday to Kansas!!!


Eating the worm!!!

Look at those teeth!!!

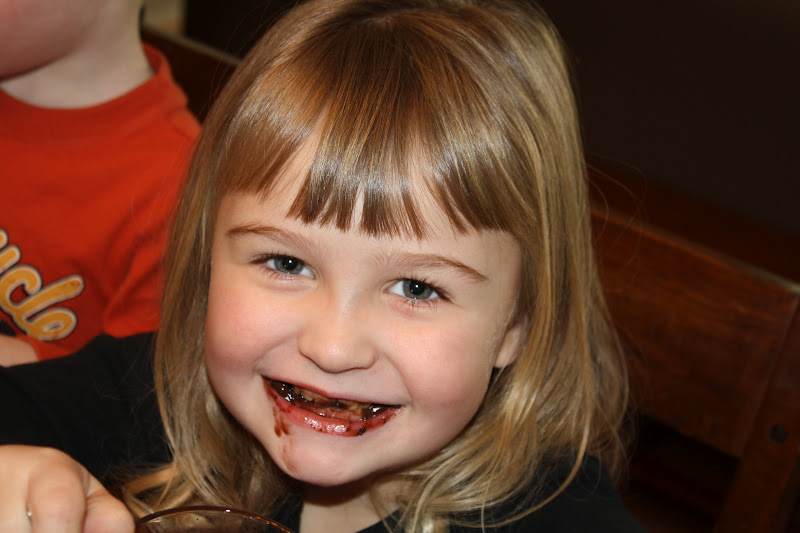
D showing me her messy face!!!
Can you tell they all loved it??!!!

Happy Birthday Kansas!!!


Tracy

Thursday, February 2, 2012

Sunflowers

This is one of my favorite crafts.....I think I have done this craft with kids every year for the past 12 years!  Just so you know (those of you that aren't from Kansas) the state flower is the sunflower.

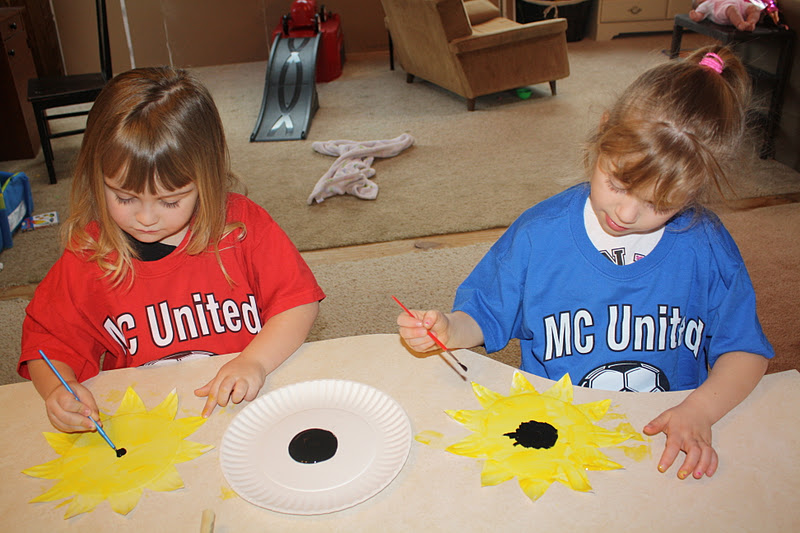
Take a paper plate and cut triangles out of the outside like I did below.

Then start painting it yellow.


Then paint some of the inside of the sunflower brown or black.....whatever you have on hand or you can cut a circle out of construction paper and glue in the middle too.

Then put some sunflower seeds on the paint......we used the kernels cause that's what I had on hand.


Then add a stem and some leaves and there you have a beautiful Kansas Sunflower!

Tracy